There’s something a little scary about taking something you love and saying, “Okay… I’m going to turn this into a business.”
But that’s exactly how Scrap Pixie began.
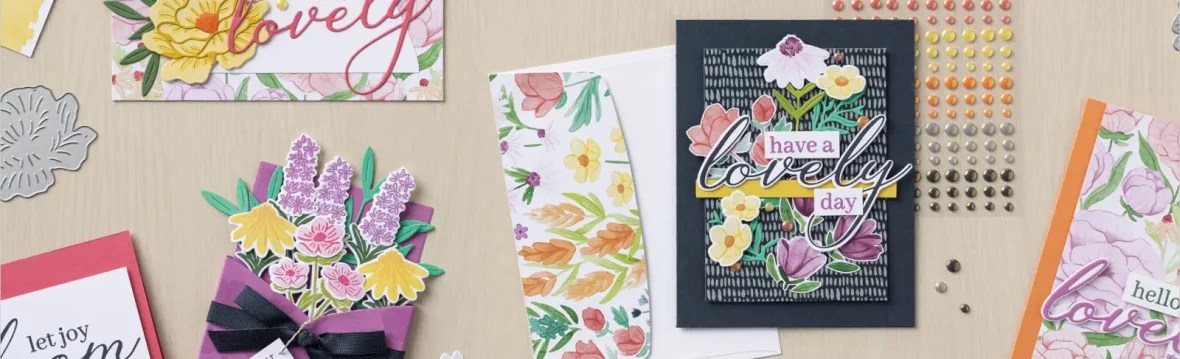
I’ve always been a creative person. Give me paper, scissors, adhesive, pretty colors, and a project, and I’m happy. Crafting has always been more than just making something pretty—it’s a way to relax, have fun, preserve memories, and spend time with people who understand why owning 47 shades of cardstock is completely reasonable.
Eventually, I started wondering: Could I turn this love of crafting into something of my own?
And that little idea became Scrap Pixie.

Building an Online Business From Scratch
When I decided to start Scrap Pixie, I knew how to craft.
What I didn’t know was approximately 853 other things that apparently come with owning an online business. 😂
Websites. Product photos. Shipping. Pricing. Social media. Packaging. Emails. SEO. Taxes. WooCommerce. And all the other tiny details you don’t even know exist until you’re suddenly Googling them at 11:00 at night.
I’ve learned a LOT as I’ve gone along—and I’m definitely still learning.
There have been plenty of moments when I’ve wondered if I’m doing things right. There have been slow days, frustrating days, and days when I’ve put hours into something and wondered if anyone was ever going to see it.
But then I remember why I started.
I Wanted Scrap Pixie to Feel Different
I didn’t want to create just another craft store.
I wanted Scrap Pixie to have a personality.
A little cute.
A little sassy.
A little sarcastic.
And very much made for people who love to create.
Scrapbookers and crafters are my people. We understand having a craft room full of supplies and somehow still needing to buy just one more thing.
We understand starting one project before finishing the other six.
And we definitely understand that sometimes crafting requires coffee…and occasionally stronger beverages. 😉
That’s the personality I want Scrap Pixie to have.
It’s a place where you’ll find fun crafty shirts, stickers, tumblers, accessories, scrapbook goodies, kits and other things designed to make this hobby we love even more fun.
The Part You Don’t Always See
Social media tends to show the exciting parts of starting a business—the new products, cute packaging, pretty displays and big announcements.
It doesn’t always show the uncertainty behind it.
Building a small business from scratch takes patience. Especially when you don’t have a huge advertising budget or a giant audience waiting for you.
Sometimes you create something you’re incredibly excited about…and crickets. 🦗
Sometimes you question whether you should keep going.
I’ve had those moments.
But I’m learning that a small business isn’t built overnight. It’s built one product, one customer, one post, one mistake, and one small win at a time.

So I’m choosing to keep going.
What’s Next for Scrap Pixie?
Honestly?
Lots.
I have way more ideas than I have hours in the day—which I suspect is a common crafter problem. 😂
I want to continue adding unique products for scrapbookers and crafters, create more Scrap Pixie designs, put together fun kits and eventually grow this little business into something I’m really proud of.
Most importantly, I want to build a community around it.
Because Scrap Pixie isn’t just about selling things.
It’s about celebrating creativity, preserving memories, laughing at ourselves, making pretty things and finding people who get ridiculously excited about paper, stickers and craft supplies.
If that sounds like you, I think you’ll fit right in.
Thank you to everyone who visits my shop, follows along, shares a post, tells a friend or places an order. When you’re building a small business, those little things aren’t actually little at all.
They’re what keep it growing.
And this is only the beginning. 🧚♀️💕
Welcome to Scrap Pixie.
Scrapbooking just got stylish.
Visit Scrap Pixie at scrappixie.us